Harry Potter Chocolate Frog Boxes
No Harry Potter party can be complete without chocolate frog boxes! These may take some patients to make but they are well worth it in the end!
This post may contain affiliate links, which means I may receive a small commission, at no extra cost to you, if you make a purchase through a link.
This is the perfect craft to do while binge-watching Harry Potter movies. The movies are quick to get you in the spirit, plus they’ll distract you from how long this will take!
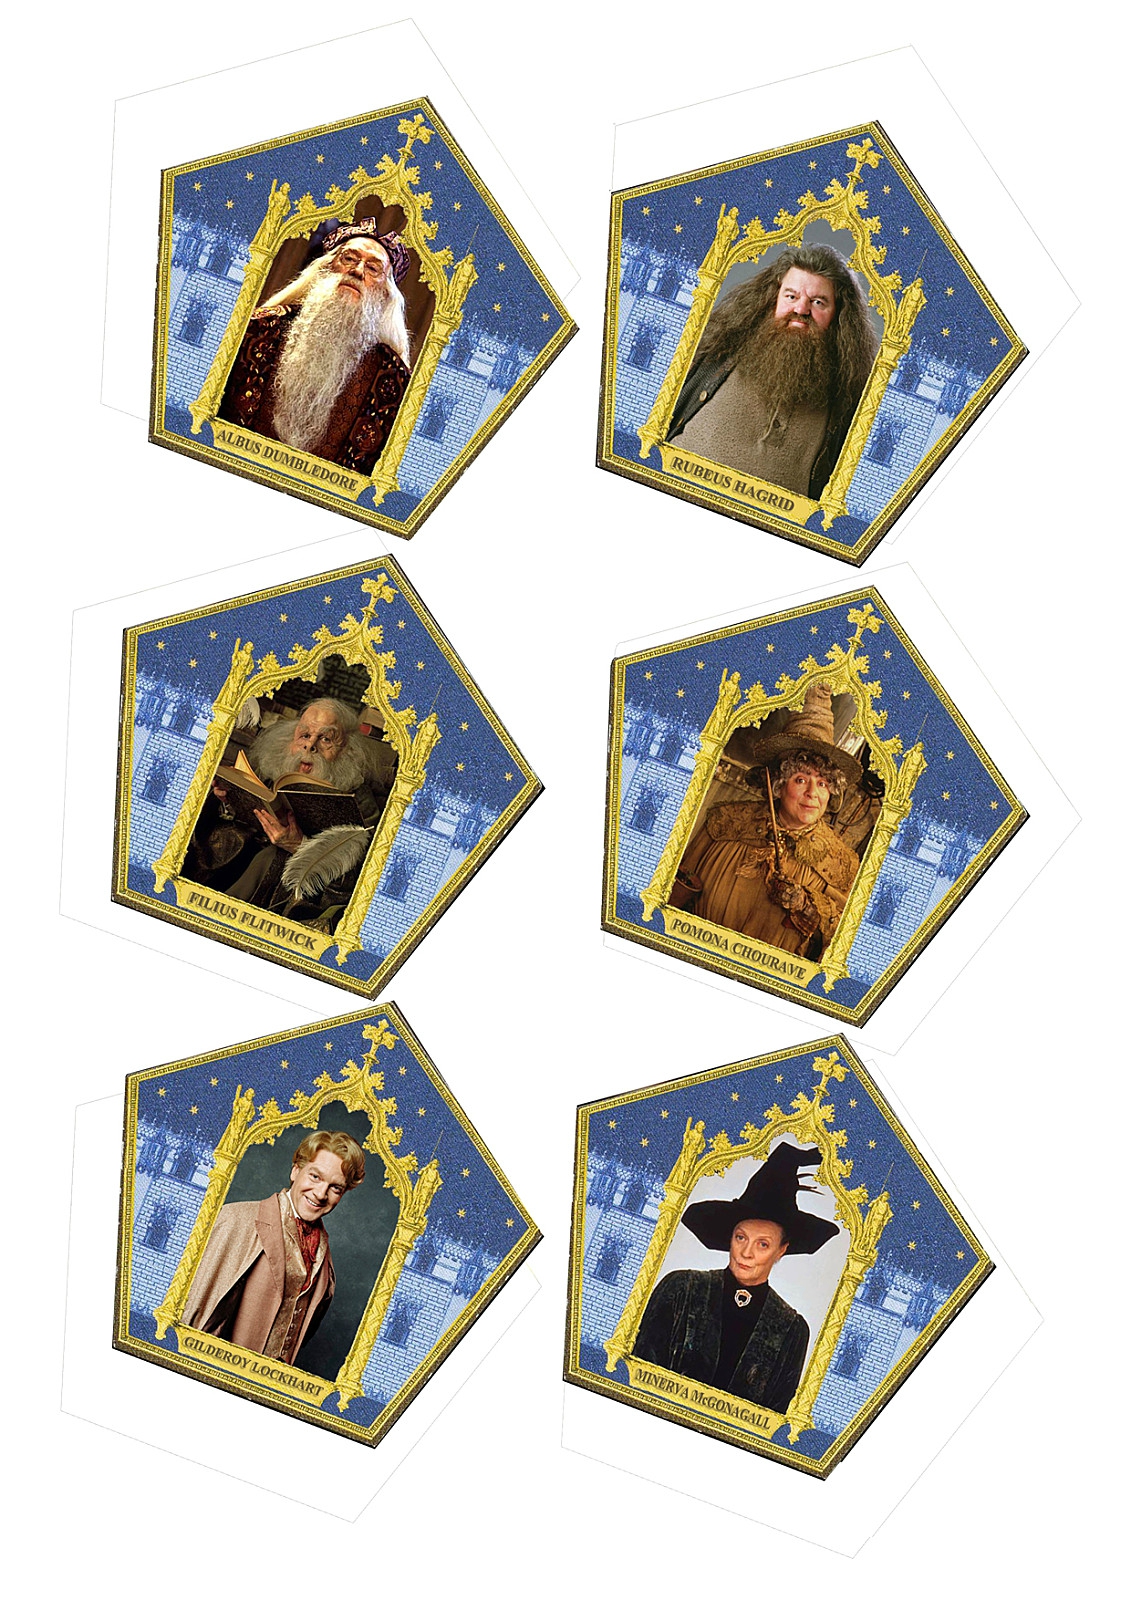
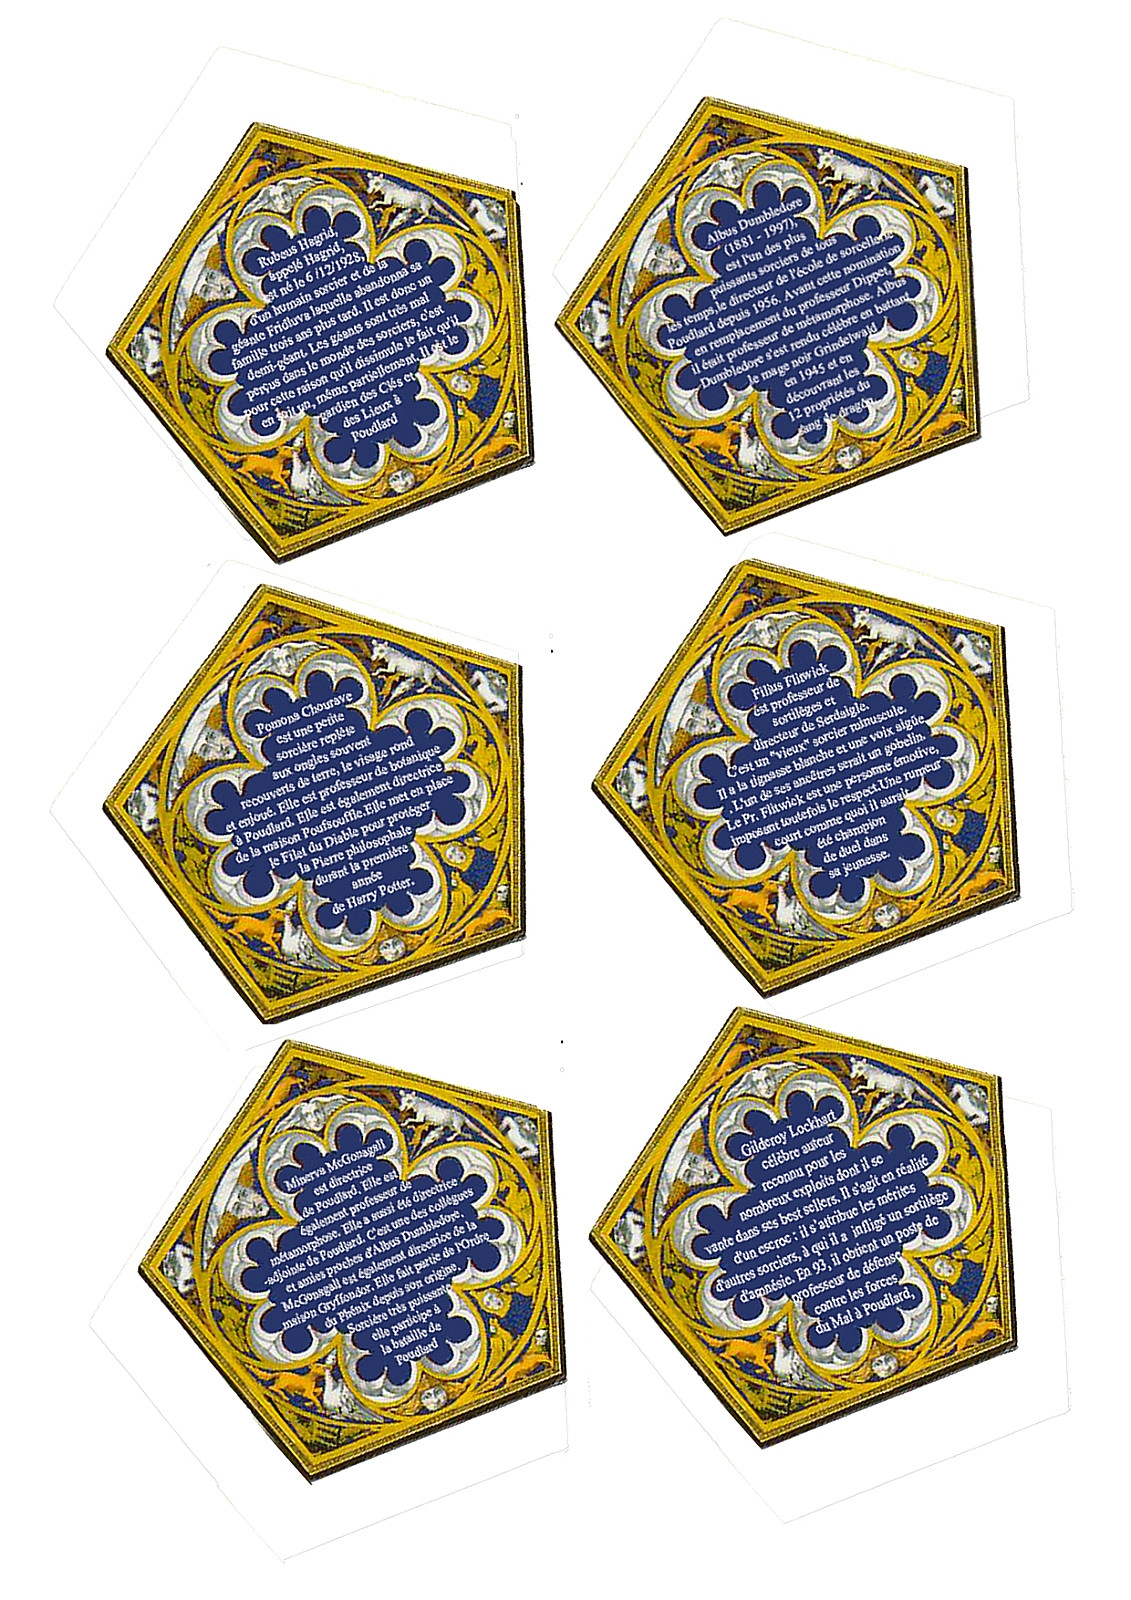
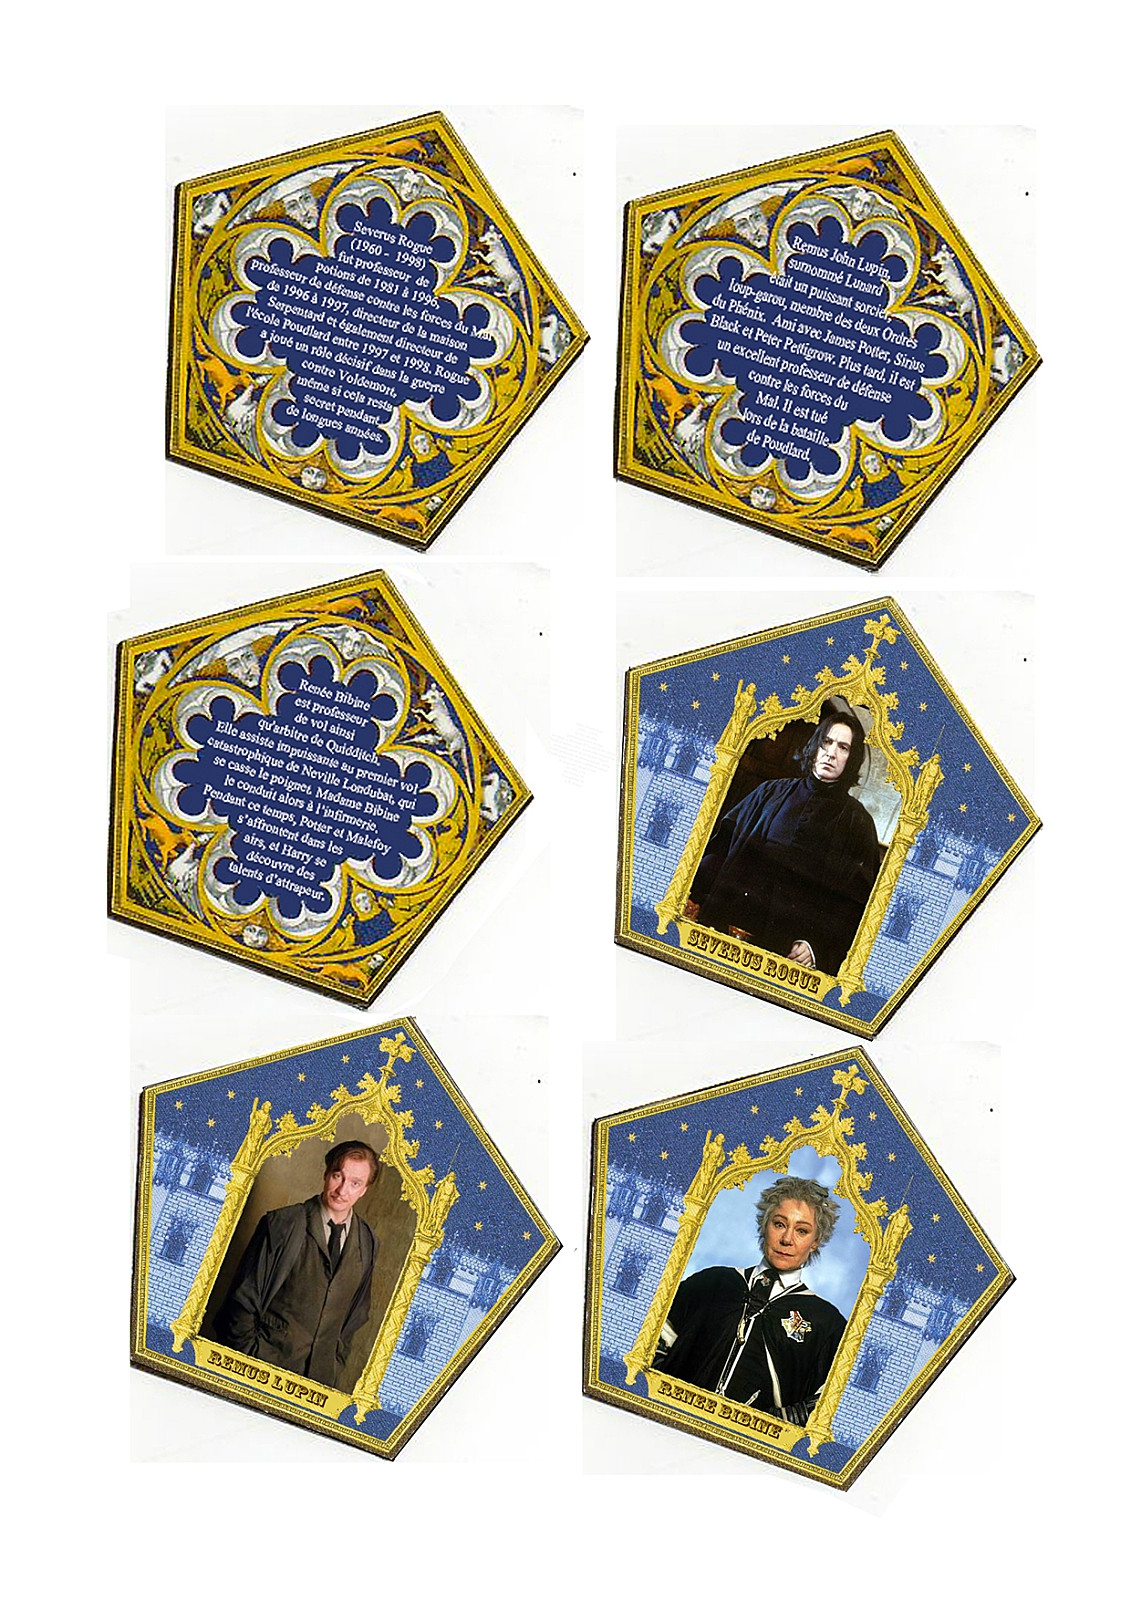
For the cards, I turned to Google and printed the best images I found. The backs aren’t in English but they fit the boxes perfectly so I was happy with them. If you’d like to use the images I found then you can download the three pages here: Page 1, Page 2, Page 3. There are many others out there, just make sure they’ll fit in your chocolate frog boxes before you print and cut them all out.
I used an x-acto knife and a ruler to cut them out to give them a clean line. You can of course use scissors if you prefer.
Supplies
- Card stock paper
- Scissors
- X-acto knife
- Cutting mat
- Clear packing tape
- Tacky glue
- Ruler


Match up the professor card with their description. Add a little glue on the back of the front card, match the edges up as best as you can with their description and glue them together. Trim the edges if you see any sides that are longer. Take packing tape and put strips on both the front and the back to create a laminated effect. Once everything is in place, trim off the excess tape. If you have a laminator, put it to use! I don’t have one so this is my hack to achieve the effect.

Time to make the boxes! I found these printables from A Tale of Two Stories on Etsy. For only $5 you’ll get the design for not only the chocolate frog boxes but also for Bertie Bott’s Every Flavour Beans, Fizzing Whizbees, Exploding Bon Bons, and Cockroach Clusters! I just checked the site to make sure this is still up and they are! They’ve also added another printable package for $8 that includes all of these candy boxes plus invitations, candy labels and a Honeydukes sign! Even though I already have the candy box PDF’s I’m temped to purchase their new package.

Once the boxes are cut out, begin to fold and glue. I found that the bottom was slightly too big and wouldn’t hold the top down if I followed the printout exactly so I overlapped a few edges more than you would originally in order for the top to fit snuggly. Use your first box as your tester to get the sizing right. You may need to pull it apart and refold a few times before you find what works best. I used the Scotch tacky glue for the corners. It dries very quickly so you don’t have to sit there all night holding the edges together. I used double sided tape for the flaps just so that I wouldn’t create too much of a mess with the glue. Be careful, this is ink on paper without any kind of finish so if you touch the design with gluey fingers, it’ll smear.

For the chocolate frogs, I used this plastic mold. Melt chocolate chips, fill the mold and put it in the fridge until they’re solid. When you fill the mold, go slowly and make sure the chocolate fills every part of it, especially the eyes. If you just pour the chocolate in, it tends to not get into every eye and wart.

The only thing left to do is to set up the boxes and enjoy the reactions of all when they see which wizarding card they get! For more Harry Potter party decorations, see my full post here.


To learn how to make the Bertie Bott’s Every Flavour Beans boxes, click here.

Related Posts

Bertie Bott’s Every Flavour Beans Boxes
Learn how to create Bertie Botts Every Flavour Beans boxes that will have your guests …

Harry Potter Wands
DIY Harry Potter Wand Tutorial Harry Potter wands are without a doubt one of the …
Leave A Comment